Supabase
Ready-to-use database for modern web apps
Setup
Create a free project on Supabase. This will automatically create a ready-to-use database for you.
Click the Connect button and select the options shown in the image below.
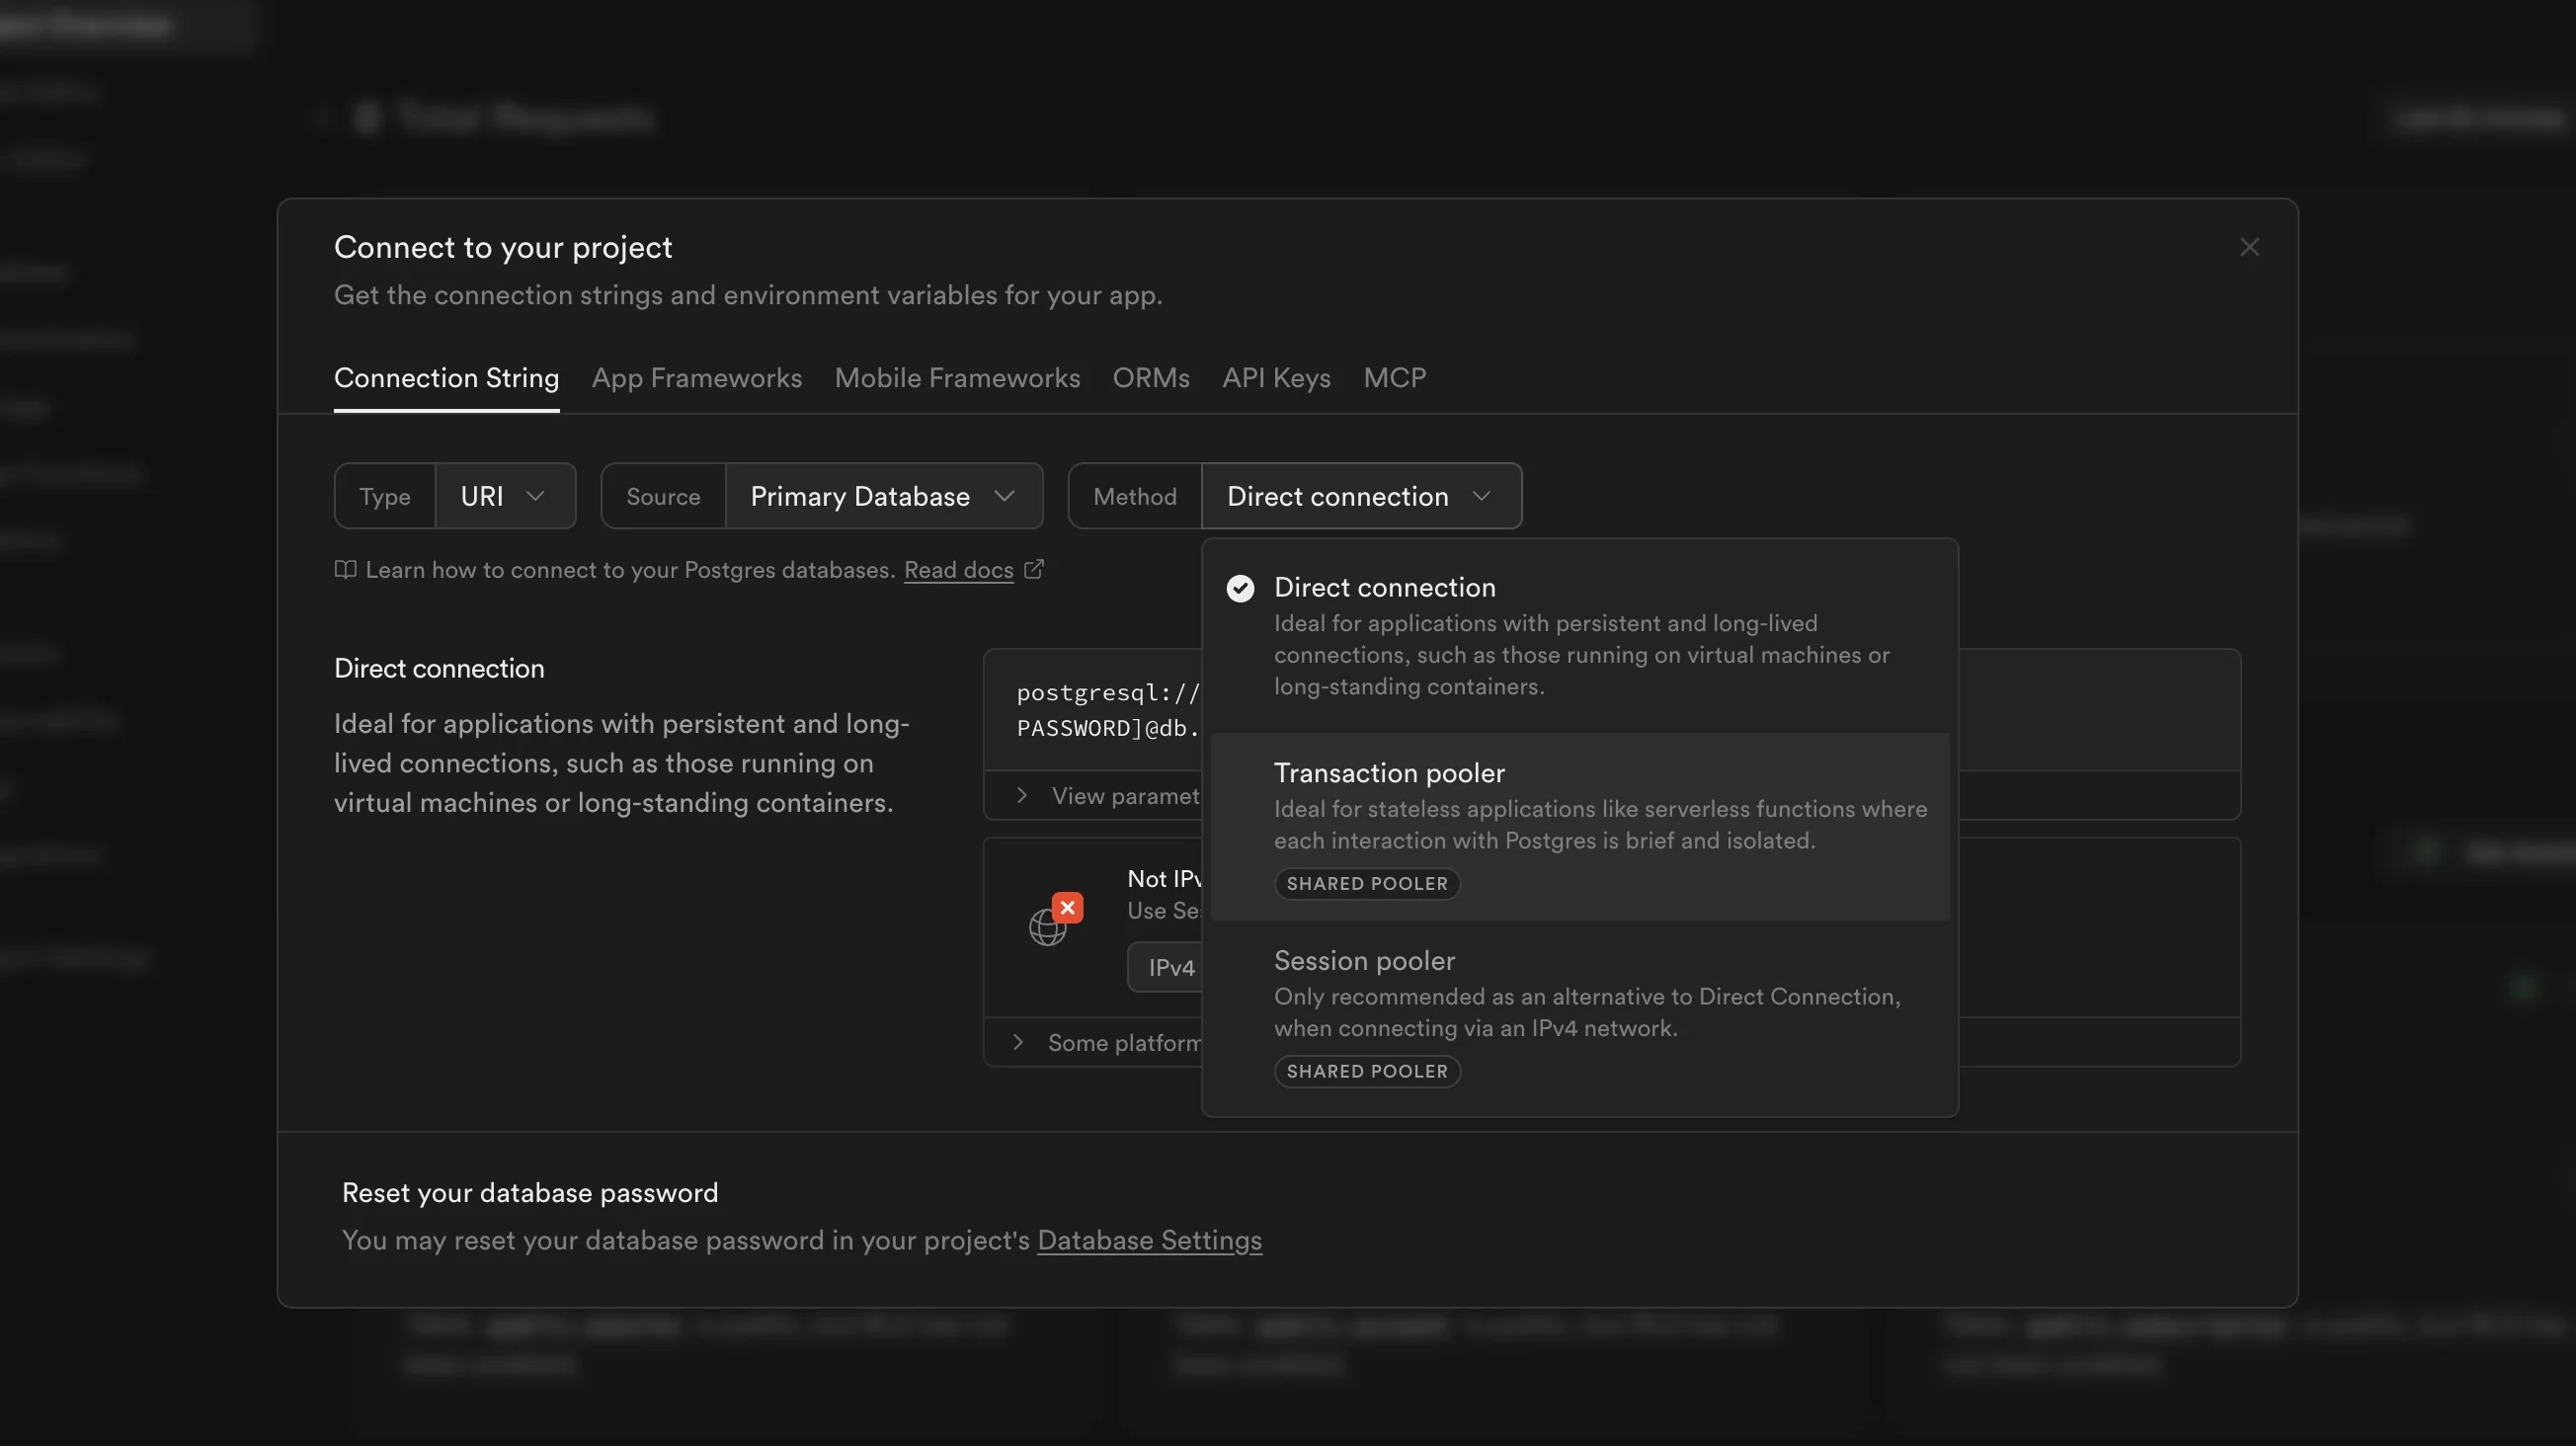
Select Transaction pooler if you plan to deploy your app on a serverless platform like Vercel. Select Direct connection if you are deploying to a VPS such as Digital Ocean.
Copy the connection string provided and paste it into your .env file:
Open /db/index.ts and uncomment one of the highlighted lines:
Use serverless-db if you plan to deploy your app on a serverless platform like Vercel. Use db if you are deploying to a VPS such as Digital Ocean.
Migrate your database schema to Supabase by running the following commands:
That’s it! Your database is now ready. You can view all your tables in the Table Editor section of your Supabase dashboard.